RGame - Python Game Engine
In this project, a Python game engine was created using tkinter (Python’s built-in GUI system). This project provides a framework for writing smaller games and simulations in Python. It runs 3 threads, one to maintain the physics loop, another to maintain the graphics loop and the main thread that handles the GUI and invocations made by the graphics loop.
Download the article (.docx): RGameDescription.docx
Download the article (.pdf): RGameDescription.pdf
Download
Pip repository: https://pypi.org/project/rgame/
Source code: RGame.zip
Github respository
https://github.com/mrgyularabai/RGameVideo
Example
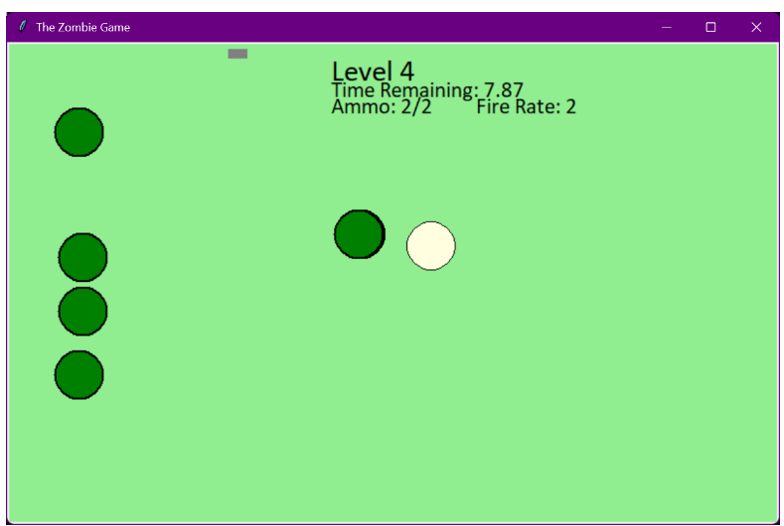
Check out the Zombie game project, that demonstrates how RGame can be used to create a simple game.
Zombie game: https://gyularabai.com/p_3273-zombie-game.html
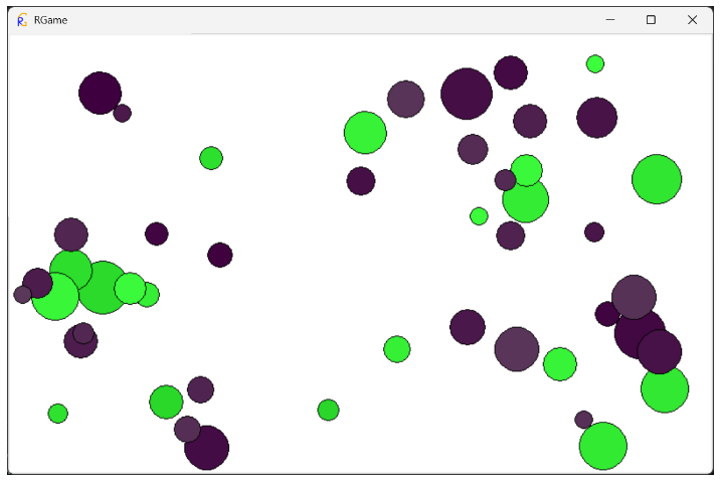
Screenshot
How to Run?
The first step is to download RGameLib.py from either my website (https://gyularabai.com/p_3704-rgame-python-game-engine.html) or the GitHub (https://github.com/mrgyularabai/RGame). Strictly speaking, that is all that is required. Alternatively, one can download the entire GitHub project and run it from the source. ‘rgame’ on PyPI is currently under maintenance (until my email is verified). A sample MainScript.py and Script.py is also provided on the GitHub.Architecture
Game Engine
The game engine has four main aspects to it: the RG_MainScript, the RG_Script-s, the Physics infrastructure, and the Rendering infrastructure.
MainScript
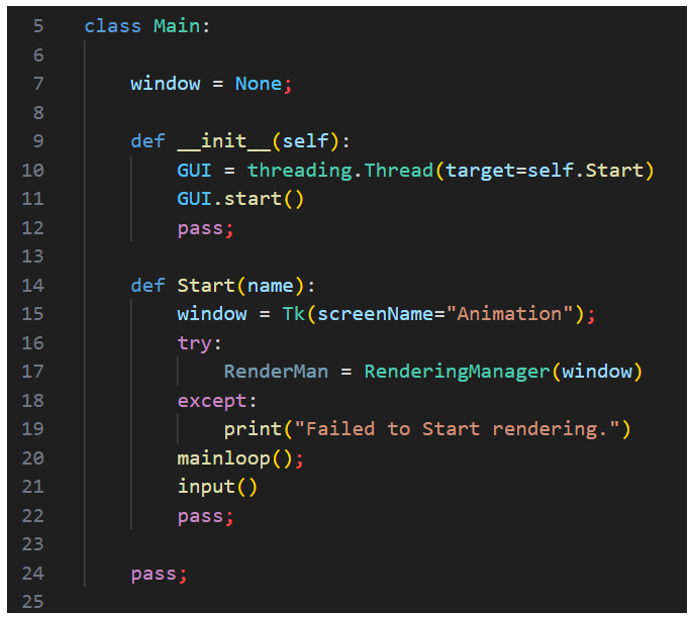
This is the main central class of the entire project. All other classes are contained by it, and all the RG_ classes require it. The main script serves three central functions. Firstly, it provides a ‘Before’ function, which is called before RGame is initialized. Secondly, it sets up and initializes RGame on its construction. Lastly, it provides a place to put code, which is not organized into its own RG_Script-s.
Scripts
These are equivalent to what other systems would call Game Objects. Upon creation, they all subscribe to a rendering loop with an appearance that gets updated after every call of the Render function. They also subscribe to a Physics loop, which runs on a separate thread to the rendering code and provides calls at relatively fixed intervals (it also measures the time between calls and provides it as an argument, deltaTime). The last key method that most RG_Scripts override is the Start method, which is called upon the creation of the script.
By creating such scripts, one can easily create instantiable game objects with custom behaviour.
Main Physics
Currently, RG_MainPhysics has two underlying implementations, one where a Python loop calls the PhysicsTick of all the subscribed scripts and one where a C++ timed loop does so if the DLL is available. The main purpose of this class is to provide all the scripts with regular physics updates every MainPhysics.Interval as is specified.
Main Window
This class contains most of the UI related code. This includes binding keys to events, setting up the main rendering loop (on a separate thread to the tkinter mainloop onto which invocations are made), and also parametrizing and setting up the tkinter window.
Sample Programs
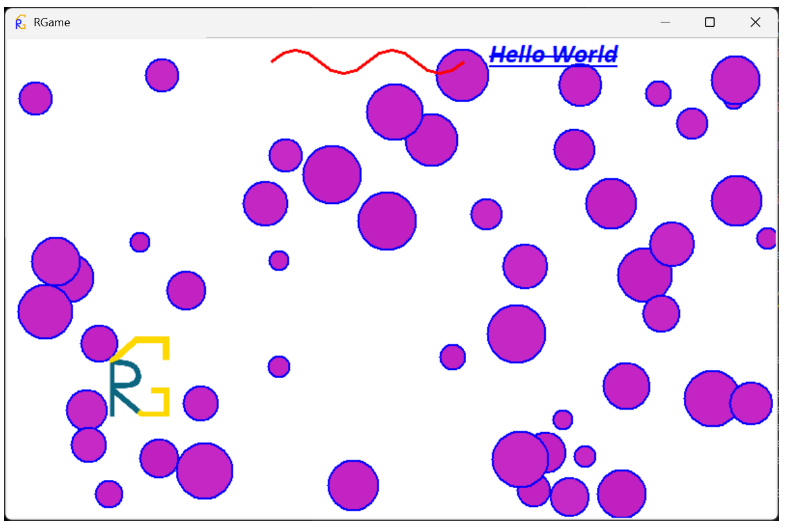
There are two main sample programs that can be obtained for RGame (amongst others like the gravity simulation). The first is the default screen shown in the introduction section. This demonstrates most of the features available in RGame (and is promptly updated when a new feature is added). The second is the Zombie Game, which is a retro-style shooter with levels and different guns available. This one uses less features, but it demonstrates how to implement more complex game logic.
Motivation
This project was mainly motivated by the fact that I wanted a way to have Unity’s easy object-oriented scripting style combined with Python’s simple syntax. I wanted to have a simple system where I do not have to worry about the complex work involved in setting up graphics. Therefore, I set out on a journey to create a framework where I could set up simulations and games as easily as I wanted.
Development
Most of this section will be referencing code from the RGame-Legacy (https://github.com/mrgyularabai/RGame-Legacy) GitHub repo. This is where I uploaded all the previous versions of RGame neatly stored in versioned folders. This was before I discovered the concept of SVN and version control (yet another testament to how far this project has come).
Although I originally had one file for RGame in V0.000, this file is lost somewhere in the depths of my SVN server. What I do remember however is that I quickly realized that a game engine is not a quick, one-off, 100-lined script. Therefore, I took my file apart into what became V0.200.
This is where the first few ideas formed about rendering being on a separate thread, the existence of a main class and a rendering manager, but perhaps the key innovation was the Vector2 class, which contained the first few operations of what would be many more later on.
A key feature of Maths in RGame is that it has a separate velocity class that derives from the vector class. This feature was kept as it makes conceptualizing what vectors represent easier.
By V0.400, the project had already gained a logo. I had so many new classes that I learnt how to organize my files into modules using the __init__.py files to hide the game engine into a folder so that it does not interfere with the game code. At this point, I started to use Decimal instead of the built-in float class, thinking that it would be an advantage to be more accurate. Furthermore, I also created separate a physics manager, and I realized that handling a tkinter window was big enough of a task that it needed a separate class.
By this point, the vector class had gained all the classic features of the linear algebra libraries I often implement in such project including the very useful SetLength function. All classes also acquired the RG_ prefix to make distinguishing between game engine classes and game classes easier.
Another notable feature of this version is the beginnings of an SDL module (standard library), which for the moment only contained a create ball function.
Rather ironically, the same approach to running the game was taken as is done in the latest version of RGame where the MainScript is passed into a ‘run’ function. For all the versions of RGame discussed in this section, the main way a project is to be run is for the working directory to be set to where the main file is, and running either _RG_Debug.py or _RG_Run.pyw (one creates a console and the other does not.)
The beginnings of a title-screen can also be seen with a black ball bouncing around on a grey back-ground.

In the following versions, I expanded the functionality of the SDL, and I kept on changing the way the main scripts are run. The full version history will not be documented, but notably between 0.400 and 0.950, the graphics system did improve with the new title screen demonstrating the stark difference. However, the key problem I encountered was not knowing when to update the appearances of the RG_Scripts, since it could be either the responsibility of the rendering manager or the RG_Script’s Render method.
The physics also greatly improved, with the new introduction of the C++ DLLs for timing, and the movement was actually calculated in the RG_Script’s Tick function instead of the PhysicsTick using a velocity property. It is also very easy to handle collisions with the screen’s edge given that a Bounce function exists.
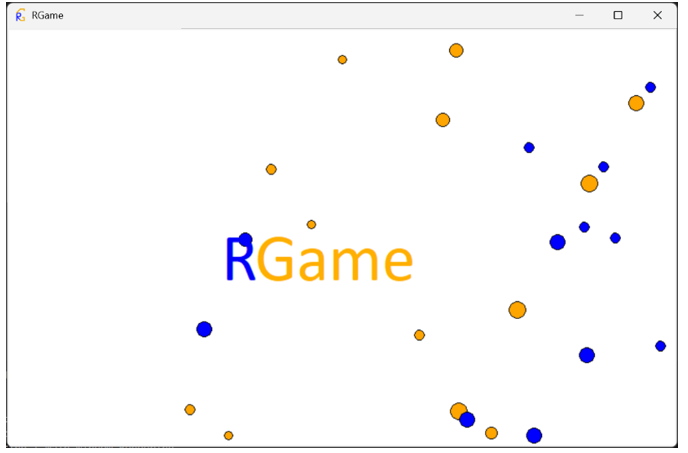
From V0.950 to V1.000, the main concern was identifying the best approach to graphics. This was eventually found to be making each script have one appearance. Then, the rendering manager first invokes the scripts Render method and then updates that appearance. This enabled the tkinter items to have their properties change in real-time, demonstrated by the colour changing balls in the new title screen.
From here on, the current version had two main issues. The first was portability, because for the Game Development Club that I was trying to set up, I wanted to use this game engine to teach people how to code and design games. However, the DLLs, were not always present when because of school system restrictions. The second issue was that there were not enough features to make enjoyable games (for example text labels were missing.)
To fix these issues, I created the current version of RGame after all the features were added V1 through V1.4. The solution to the missing DLLs was to implement Python equivalents to the DLLs, and switch when they were not available. To further increase portability, I added a script that compiles all the modules into one large file using import headers in each file. This means all of RGame can now be used by just downloading one file (RGameLib.py).
This also came with reconfiguring the main executable file to be the file that contains the MainScript instead of the previous _RG_Run.py. This was solved with a function that takes in a MainScript and runs it, instead of the main script running itself on creation.
Conclusion
To conclude, this project was more than just a road-map to developing a great game engine. This was a project to make something that both I and others could use, in a robust, yet intuitive way!
Source code
To view the source code online click on the following link:
RGameLib.py source code